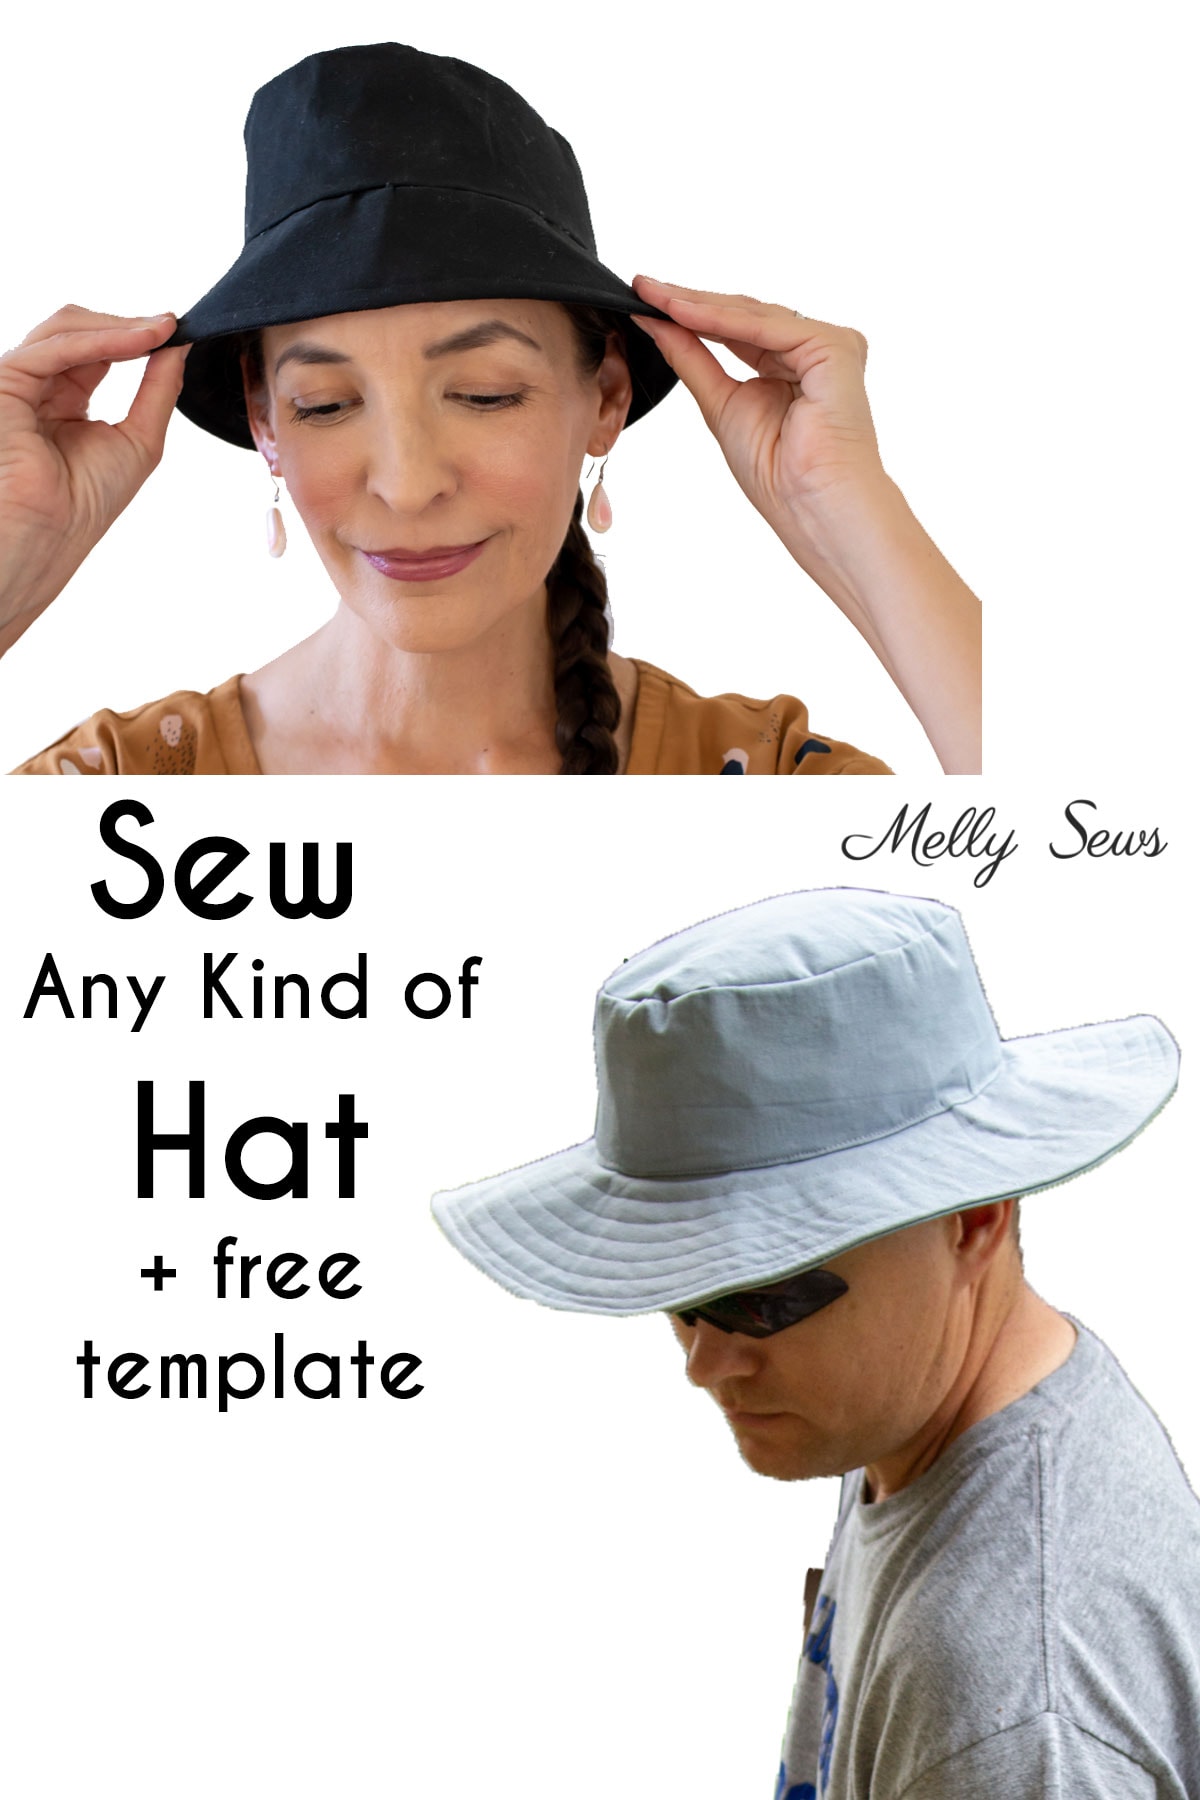
To make your own bucket hat pattern, measure your head and create a pattern based on those measurements. Use fabric, pins, and a sewing machine to bring your design to life.
Are you looking to add a personal touch to your accessory collection? Making your own bucket hat pattern can be a fun and rewarding DIY project. By customizing the size and style to fit your preferences, you can create a unique and stylish hat that reflects your individuality.
Whether you’re a seasoned sewist or just starting out, crafting your own bucket hat pattern allows you to showcase your creativity and showcase your skills. In this guide, we will walk you through the steps to make your very own bucket hat pattern from scratch. So, grab your materials and let’s get started!
Get Inspired
Discover how to create your very own bucket hat pattern with these easy-to-follow inspiration guidelines. From selecting fabrics to stitching techniques, this DIY project will elevate your headwear game effortlessly. Get inspired to personalize your style and showcase your creativity with a custom-made bucket hat!
Research Different Bucket Hat Styles
As you start creating your own bucket hat pattern, it’s essential to research different styles to gather inspiration.
Look For Pattern Inspiration
Seek pattern inspiration from various sources to fuel your creativity.
For successful DIY bucket hat pattern creation, researching various styles is the key. Start by exploring different bucket hat designs to find inspiration. Then, delve into pattern resources to spark your creativity.
Gather Supplies
To create your own bucket hat pattern, the first step is to gather all the necessary supplies.
Fabric
Choose a fabric that is durable and lightweight for your bucket hat.
Sewing Machine
Ensure you have access to a sewing machine to efficiently sew your hat together.
Measuring Tools
Have measuring tape and rulers on hand to accurately measure your fabric and head size.
Take Measurements
To make your own bucket hat pattern, start by taking accurate measurements of your head circumference and the depth you want for the hat. This will ensure a perfect fit and shape for your personalized hat.
Before you start making your own bucket hat pattern, it’s important to take accurate measurements. This ensures that the hat will fit comfortably and snugly on your head. Let’s break down the key measurements you need to take.
Head Circumference
To determine your head circumference, you’ll need a flexible measuring tape. Place the tape around the widest part of your head, which is typically above your eyebrows and ears. Make sure the tape is level and snug, but not too tight. Record the measurement in inches or centimeters.
Brim Width
The brim width is the distance from the edge of the hat to the outer edge of the brim. It determines the amount of shade the hat provides. Measure the desired brim width from the base of the crown, all the way around. You can choose a standard brim width or adjust it according to your preference.
Crown Height
The crown height is the distance from the base of the hat to the top, where the top of your head will sit. This measurement determines how deep the hat will be. To measure the crown height, place one end of the measuring tape at the base of the hat and extend it vertically to the desired height. Record the measurement in inches or centimeters.
Summary
To make your own bucket hat pattern, accurate measurements are essential. Take your head circumference, brim width, and crown height. These measurements will serve as the foundation for your unique hat design.
Create The Crown Pattern
Creating the crown pattern is a crucial step in making your own bucket hat. This is where the distinctive shape of the hat begins to take form, and getting this part right is essential for a well-fitting and stylish hat.
Draw A Circle For The Top Of The Hat
To start, draw a circle on a piece of pattern paper or cardboard. The size of the circle will determine the circumference of the hat, so be sure to measure accurately. You can use a compass or a circular object of the desired size as a guide to create a perfect circle.
Add Seam Allowance
Once the circle is drawn, add the seam allowance. This additional space allows for the sewing of the fabric and ensures that the final hat will be the correct size. Measure about 0.5 to 1 inch around the circle, then mark and cut the outer line to include the seam allowance.
Cut Out The Crown Pattern
To complete the crown pattern, carefully cut along the outer line that includes the seam allowance. Make sure to cut precisely to ensure the hat fits together seamlessly. Now you have your crown pattern ready to be used in making your own bucket hat!
Make The Brim Pattern
In this section, we will focus on creating the brim pattern for your DIY bucket hat. Crafting the brim pattern is a critical step as it determines the hat’s overall shape and functionality. Let’s get started by following these steps to achieve the perfect brim pattern for your stylish bucket hat.
Measure And Mark The Brim Length
To begin, measure the desired length of the brim for your bucket hat. Using a flexible measuring tape, determine the circumference of your head where the hat will sit. Once you have this measurement, decide on the brim length that you find comfortable and stylish. Mark this measurement on your pattern paper using a fabric pencil or chalk. Ensure the mark is even and precise.
Determine The Brim Width
Next, it’s time to decide the width of your brim. A wider brim provides more sun protection and a more dramatic look, while a narrower brim offers a more subtle style. Consider your personal preference and the hat’s intended use when determining the width. Mark this measurement perpendicular to the brim length line, ensuring the line is straight and accurately aligned with the brim length mark.
Cut Out The Brim Pattern
Now, carefully cut out the brim pattern following the marked measurements. Use sharp fabric scissors to ensure neat and accurate edges for your brim pattern. After cutting, you can refine the edges as needed to achieve the desired shape. This step ensures that your hat’s brim will be perfectly sized and shaped according to your measurements.

Credit: sewverycrafty.com
Cutting And Assembling The Fabric
When it comes to crafting your own bucket hat, one of the most important steps is cutting and assembling the fabric. This is where the hat starts to come together, and attention to detail is crucial. In this section, we will walk you through each step of the process, from tracing and cutting out the fabric pieces to pinning and sewing the crown pieces, and finally attaching and sewing the brim. With these simple instructions, you’ll be well on your way to creating a stylish and personalized bucket hat.
Trace And Cut Out The Fabric Pieces:
To start, gather the necessary materials, including your chosen fabric, scissors, and a pattern template. Lay the fabric flat on a clean surface and ensure it is wrinkle-free. Place the pattern template on the fabric and trace around it using a fabric marker or chalk. Take your time to ensure accurate tracing of all the required pattern pieces, including the crown and brim.
Once all the pieces are traced, carefully cut them out using sharp scissors. Pay attention to cutting along the lines precisely, as this will affect the final fit and appearance of your bucket hat. Take care not to stretch or distort the fabric while cutting, as this can lead to inaccuracies in the shape and size of the pieces.
Pin And Sew The Crown Pieces:
Now it’s time to assemble the crown of your bucket hat. Start by taking the crown pieces and aligning them with right sides together. Use small pins to secure the fabric in place, ensuring the edges align perfectly. This will prevent any shifting or misalignment during the sewing process.
Next, using a sewing machine or a needle and thread, sew along the pinned edges, leaving a small seam allowance. Be sure to backstitch at the beginning and end of each seam to strengthen the stitches. Press the seams open using an iron to create a smooth and professional finish.
If desired, you can also add a lining to the crown for added comfort and durability. Simply repeat the pinning and sewing process with the lining fabric, ensuring it is slightly smaller than the outer crown pieces to allow for a snug fit.
Attach And Sew The Brim:
The final step in creating your Bucket Hat Pattern is attaching and sewing the brim. Begin by placing the brim piece onto the bottom edge of the assembled crown, matching the curved edges together. Use pins to secure the brim in place, evenly distributing them around the circumference of the hat.
Once the brim is securely pinned, sew along the edge, attaching it to the crown. Take extra care to sew slowly and evenly, ensuring the stitches are neat and sturdy. Trim any excess fabric if necessary and press the seam open with an iron for a polished look.
At this point, your bucket hat is almost complete. The last step is to remove any remaining pins and give the hat a final press with an iron to smooth out any wrinkles or creases. Now you can proudly wear your custom-made bucket hat pattern and show off your sewing skills!
Finishing Touches
Ensuring your bucket hat pattern is perfectly finished is essential for a polished final product. Here are the final steps:
Trim Excess Threads
Use small scissors to carefully trim away any excess threads from your hat.
Press The Seams
Iron your hat to press the seams for a neater appearance and better shape retention.
Add Any Embellishments
Get creative and add embellishments like patches, buttons, or embroidery to personalize your hat.

Credit: www.amazon.com

Credit: mellysews.com
Frequently Asked Questions For How To Make Your Own Bucket Hat Pattern
What Materials Do I Need To Make A Bucket Hat Pattern?
You will need fabric, sewing machine, thread, scissors, and a pattern template.
Can I Customize The Size Of The Bucket Hat Pattern?
Yes, you can easily customize the size by adjusting the pattern template.
Are There Different Styles Of Bucket Hat Patterns?
Absolutely, you can choose from various styles including brim width and crown height.
How Do I Ensure A Perfect Fit For My Bucket Hat?
Carefully measure your head circumference for a tailored fit.
Can I Add Additional Embellishments To The Bucket Hat?
Certainly, you can personalize your bucket hat with trims, pockets, or embroidery.
Conclusion
All in all, creating your own bucket hat pattern can be a fun and rewarding DIY project. By following the step-by-step guide outlined in this blog post, you’ll be able to design a unique and stylish hat that matches your personal taste.
Remember to choose the right fabric, measure accurately, and follow the sewing instructions carefully. With a little patience and creativity, you’ll have a bucket hat that fits perfectly and reflects your individual style. So, get ready to rock your handmade bucket hat with confidence and flair!


